Monday, July 26, 2010

Winner Winner!!!

So I used a random number generator at Random.org to pick who would win the cake tattoos. The winner is Missy!!! YAY Be sure to shoot me an email with your address and I will get it mailed out. I am sure you will love the product.

I am hoping to do a giveaway once a month or so as I try new things and like them or even just things I already love.

Congrats Missy!!

Saturday, July 17, 2010

Cake Tattoo Giveaway!!


Ok ya'll I was so impressed with Duff's Cake Tattoos that I am giving the set pictured above away!!

WOOOHOOO!!

All you have to do is be a follower of this blog AND comment as to what your favorite cake decorating item is.

It can be a tool, something like the cake tattoos, a specific brand of fondant or recipe.

Anything goes but lets share our favorite things with each-other

This contest will run all week and the winner will be chosen at random Saturday July 24th!

Share with your friends lets see how many comments we can get!!

Friday, July 16, 2010

Duff Goldman's cake tattoos


So, tomorrow is my daughters 7th birthday. I was desperate to try something new. Time constraints however did not allow me to be as creative as I desired.

She wanted a funky fancy zebra striped cake but again time constraints did not allow for fondant and all that good stuff. I was going to try but was not sure it would get done.

As I walked through the grocery store I ran across some new products. Duff Goldman from Charm City Cakes has started a line of decorating products to help those of us trying to get the look of professional custom cakes at home.

This was PERFECT.

These are edible tattoos. Basically, it is special food color on edible paper that you wrap around an iced cake. According to Michaels website they only have 2 different versions of the cake tattoos. I found mine at Walmart for $12.99 and they had at least 8 different sets. The sets ranged from bright and colorful to classic black and white. This included 2 sheets of edible art. It will decorate two tiers on a cake, 20 cupcakes or 20 cookies.
It was packaged very well and the quality was great.

I baked my cakes and then used the Wilton decorators icing. The cakes need to be completely cool and level before icing. Mine were cooled but not level and I do not think that it looks as good as it could have. Oh well, ya live and learn. The next one will be better.

The frosting needs to be COMPLETELY SMOOTH!

These tattoos are on paper that just gets wrapped around the cake and it sticks to the frosting. So any little bump or dip will show up. Also if the frosting is too dry the paper will NOT stick so be sure to have a water bottle handy to just mist the frosting NOT the paper.

The first piece of paper I had tore with the heat from my hand so be sure to handle it delicately.

One thing I did not like was that the pieces are not continuous. To get a wrap all the way around the 8 inch layer I had to use 2 full pieces plus part of a third. On the 6 inch layer it was the same and the words did not match up. So to a trained eye it would be obvious.

All in all I really liked the product and will use it again.

Thank you Duff!!!

Thursday, July 8, 2010

Red Velvet Cake


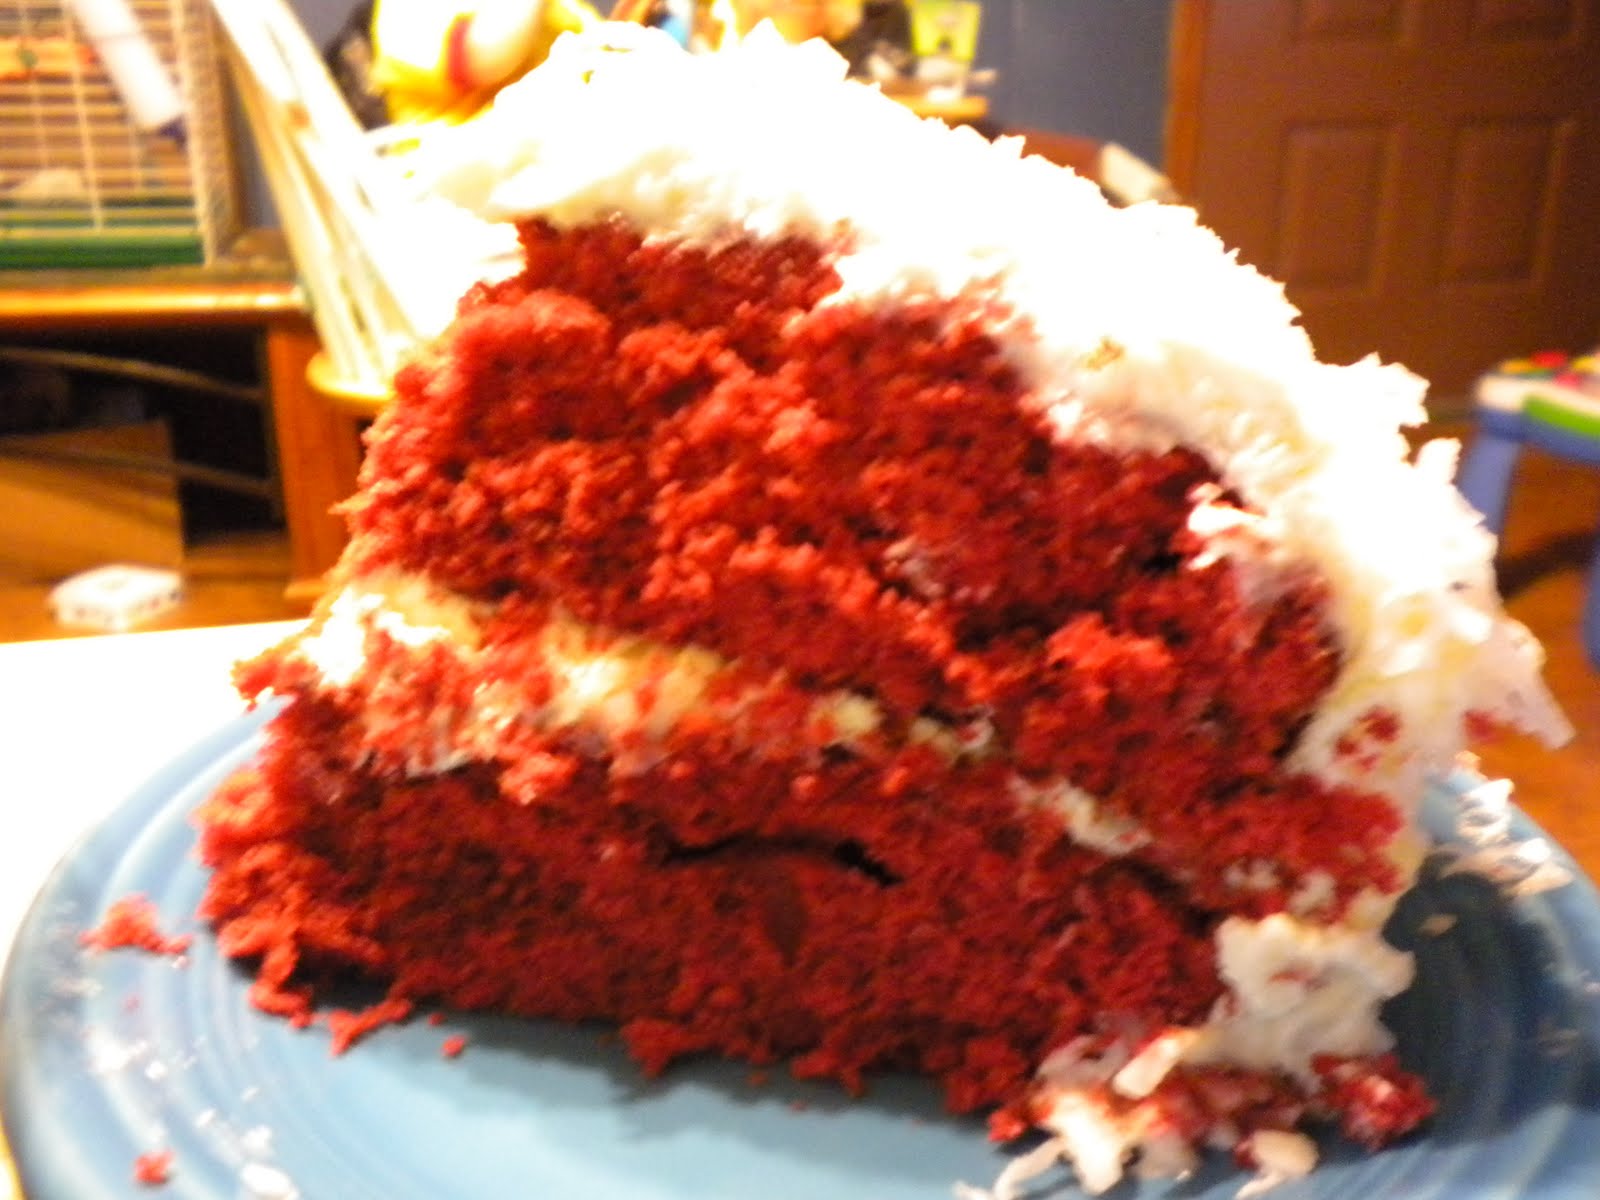
YUMM!! This cake was light and airy but still very moist. My husband LOVED it.

The cream cheese frosting from the previous post was spectacular on it. We also garnished the cake with some shredded coconut however if you don't care for coconut that is easy enough to leave off.

Hubby said this is definitely a recipe to keep around and use again. I don't think I will ever get another store-bought red velvet cake again.


Here is the recipe. Straight from the Joy of Baking website.

Red Velvet Cake:

2 1/2 cups

(250 grams) sifted cake flour

1/2 teaspoon salt

2 tablespoons (15 grams) Dutch-processed cocoa powder

1/2 cup (113 grams) unsalted butter, at room temperature

1 1/2 cups (300 grams) granulated white sugar

2 large eggs

1 teaspoon pure vanilla extract

1 cup (240 ml) buttermilk

2 tablespoons liquid red food coloring

1 teaspoon white distilled vinegar

1 teaspoon baking soda


Red Velvet Cake: Preheat oven to 350 degrees F (175 degrees C) and place rack in center of oven. Butter two - 9 inch (23 cm) round cake pans and line the bottoms of the pans with parchment paper. Set aside.

In a mixing bowl sift together the flour, salt, and cocoa powder. Set aside.

In bowl of your electric mixer, or with a hand mixer, beat the butter until soft (about 1-2 minutes). Add the sugar and beat until light and fluffy (about 2-3 minutes). Add the eggs, one at a time, beating well after each addition. Scrape down the sides of the bowl. Add the vanilla extract and beat until combined.

In a measuring cup whisk the buttermilk with the red food coloring. With the mixer on low speed, alternately add the flour mixture and buttermilk to the butter mixture, in three additions, beginning and ending with the flour.

In a small cup combine the vinegar and baking soda. Allow the mixture to fizz and then quickly fold into the cake batter.

Working quickly, divide the batter evenly between the two prepared pans and smooth the tops with an offset spatula or the back of a spoon. Bake in the preheated oven for approximately 25 - 30 minutes, or until a toothpick inserted in the center of the cakes comes out clean. Cool the cakes in their pans on a wire rack for 10 minutes. Place a wire rack on top of the cake pan and invert, lifting off the pan. Once the cakes have completely cooled, wrap in plastic and place the cake layers in the freezer for at least an hour. (This is done to make filling and frosting the cakes easier.)


Cream Cheese Frosting


My husband loves cream cheese frosting. I have not really ever been just wild about it. It is always thick and dense and it just simply is not my favorite.

That being said some cakes just cry out for a cream cheese frosting. Carrot Cake, Red Velvet etc. My husbands favorite cake is red velvet. For fathers day I told him I would make him his favorite but I wanted it totally done from scratch. I was also on a mission to find the perfect cream cheese frosting.

As I am looking around I stumble across Joy Of Baking and their website. I have found absolutely spectacular recipes there before so I did a search and I am so glad I did.

I think I have found the PERFECT cream cheese frosting.

It is light and airy and delicious!

This frosting is done in two steps.

Step one:

In your food processor, or with a hand mixer, process the cream cheese and mascarpone cheese until smooth. Add the vanilla and confectioners sugar and process until smooth. Transfer this mixture to a large mixing bowl.

Step two:

Then, in the bowl of your electric mixer, or with a hand mixer, whip the cream until stiff peaks form. With a large spatula, gently but quickly fold a little of the whipped cream into the cream cheese mixture to lighten it. Then fold in the remaining whipped cream, in two stages. If the frosting is not thick enough to spread, cover and place in the refrigerator for an hour, or until it is firm enough to spread.

The end result looks like the picture above.

Here is the recipe for the frosting:

Cream Cheese Frosting:

1 1/2 (360 ml) cups heavy whipping cream

1 - 8 ounce (227 grams) cream cheese, room temperature

1 - 8 ounce (227 grams) tub of Mascarpone cheese, room temperature

3/4 teaspoon pure vanilla extract

1 cup (115 grams) confectioners' (icing or powdered) sugar, sifted